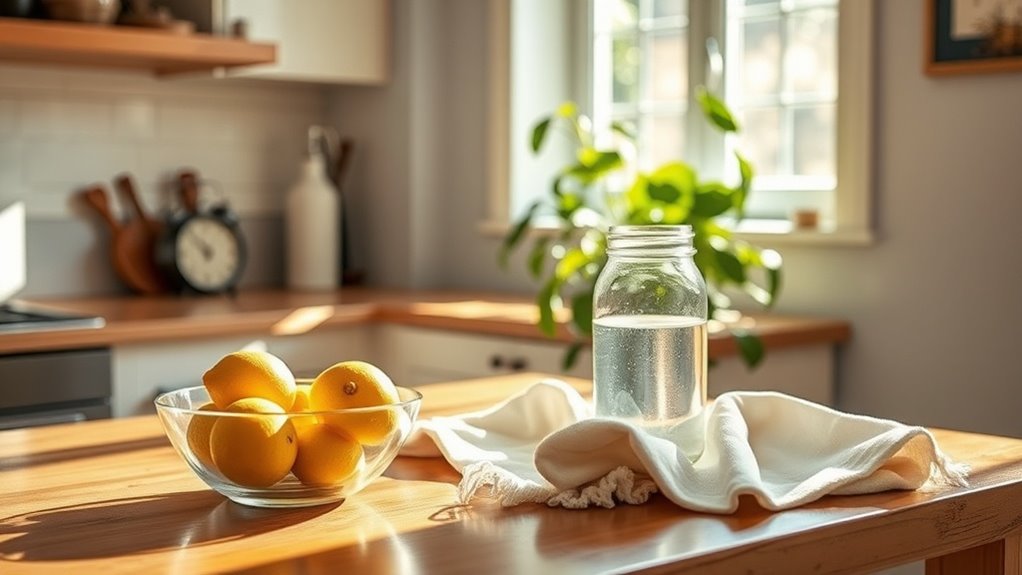
This Simple DIY Cleaner Uses Only 3 Ingredients-You’ll Love It!
Have you ever stared at a stubborn stain and wished for an effective yet simple cleaning solution? You’re in luck, because creating a powerful DIY cleaner is easier than you think, and it requires just three common ingredients. It’s eco-friendly, cost-effective, and safe for most surfaces. Stick around to discover how to whip up this cleaner and transform your cleaning routine—your home will thank you for it!
The Benefits of DIY Cleaners
When you switch to DIY cleaners, not only are you taking control of what goes into your home, but you’re also making a greener choice for the environment.
Plus, these easy natural cleaning recipes can save you money and reduce waste.
You’ll enjoy the satisfaction of crafting your own safe solutions, knowing you’re protecting your family while keeping your space sparkling clean! By using a combination of household ingredients, you can create a powerful, eco-friendly cleaning solution right in your home.
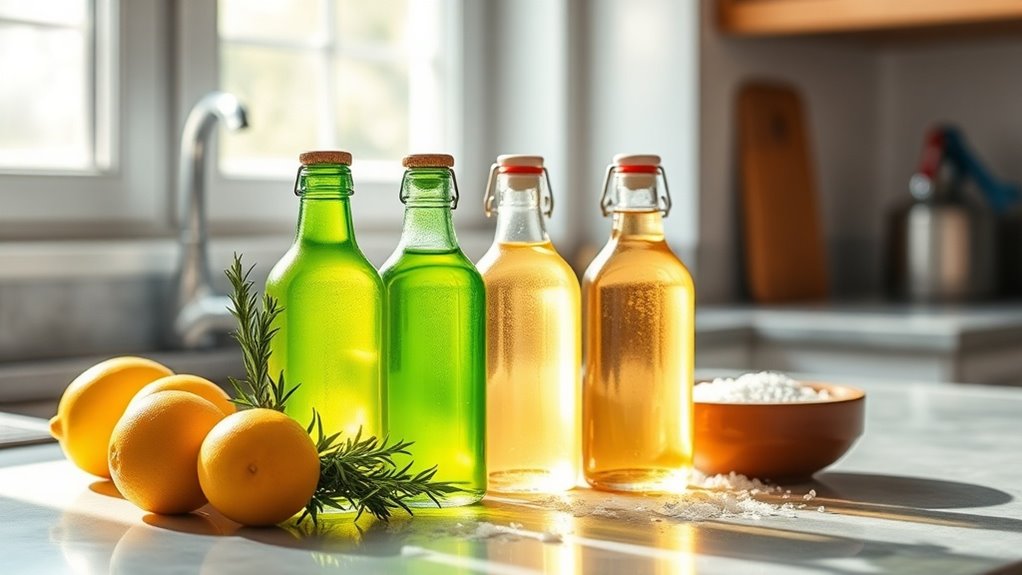
Essential Ingredients for Your Cleaner
Creating your own cleaner is simpler than you might think, and it starts with just a few basic ingredients.
You’ll need white vinegar for its natural disinfectant properties, baking soda for scrubbing power, and water to dilute and combine everything.
Mix these three together, and you’ve got a powerful cleaner that’s safe for most surfaces and effective for everyday messes. Incorporating this simple cleaning hack can transform your home routine for a healthier environment.
Enjoy the freshness!
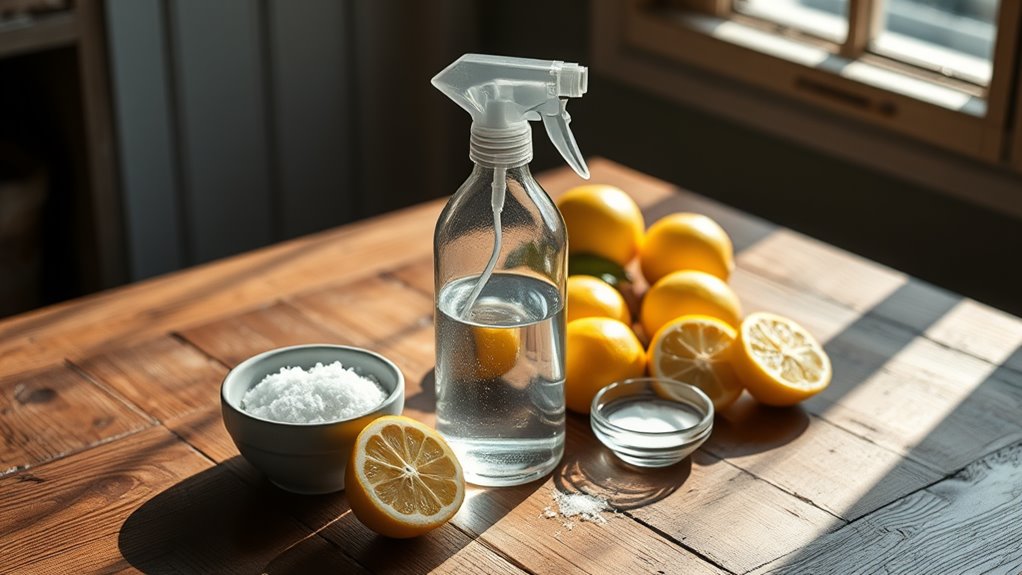
Step-by-Step Instructions
Now that you have your three key ingredients ready, let’s get right into making your DIY cleaner.
First, grab a spray bottle and add one cup of water.
Next, mix in half a cup of vinegar and a tablespoon of baking soda.
Give it a gentle shake, and there you have it! Your homemade cleaner is ready to tackle those stubborn messes. Using eco-friendly ingredients not only benefits your home but also contributes to a healthier environment.
Tips for Using Your DIY Cleaner
Before you dive into cleaning, keep a few tips in mind to make the most of your DIY cleaner.
Test it on a small area first to ensure no damage occurs.
Don’t forget to shake the bottle well before each use for even distribution.
For tough stains, let the cleaner sit for a few minutes before wiping it away.
Incorporating natural cleaning products can lead to a positive impact on your home and health.
Happy cleaning!
Storage and Shelf Life
After using your DIY cleaner, it’s important to think about how you’ll store it to keep it effective.
Use a clean, airtight container to prevent contamination and maintain potency. A cool, dark place is ideal to extend its shelf life—typically up to a month.
Just remember to label the container with the date you made it for easy reference!
Other Uses for Your DIY Cleaner
While you’ve whipped up your DIY cleaner for tackling household messes, you might be surprised to learn it can do much more than just disinfect countertops.
Use it to freshen up your laundry, remove stains from carpets, and even clean your appliances!
Plus, it works wonders on bathroom tiles. With these extra uses, you’ll definitely get your money’s worth!