How to Start a Mini Garden With Mason Jars
To start your mini garden with mason jars, first, choose herbs like basil, mint, or cilantro that fit your culinary tastes and sunlight availability. Select glass jars with wide openings for easy planting. Prepare a high-quality potting mix, adding fertilizer for nutrients. Ensure proper drainage by drilling holes at the bottom and adding gravel. Once planted, care for your herbs by checking moisture weekly and providing adequate light. Stick around to discover more tips for a thriving herb garden!
Choosing the Right Herbs for Your Mini Garden
When it comes to choosing the right herbs for your mini garden, what factors should you consider?
Start by thinking about your culinary preferences.
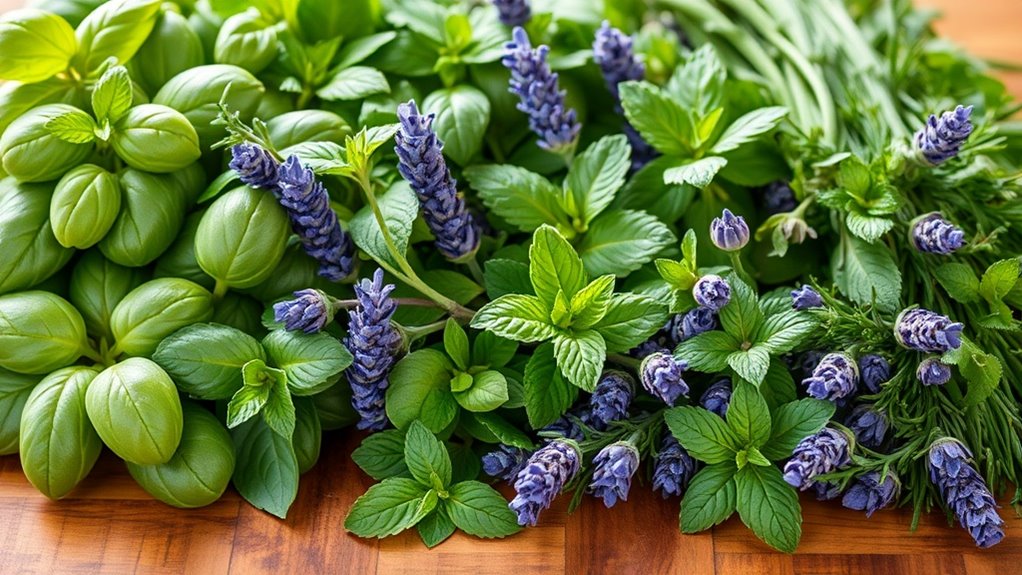
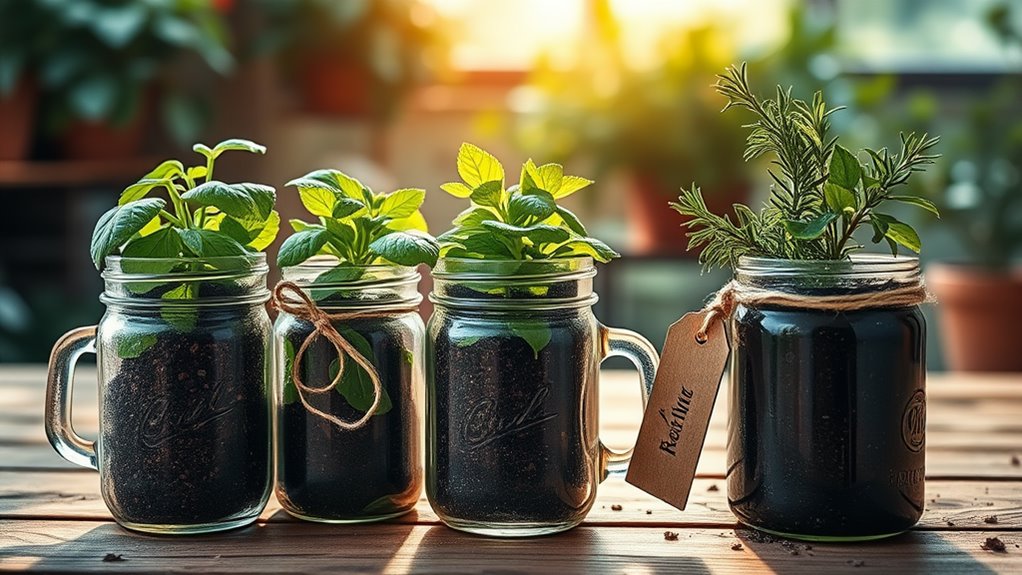
Basil, mint, and cilantro are popular choices that thrive in herb garden jars.
Consider the sunlight each herb needs; some require full sun while others prefer partial shade.
Also, think about growth habits; compact herbs like thyme work well in smaller spaces, while larger ones like rosemary may need more room.
Lastly, ensure you select herbs that complement each other in flavor, making your mini garden not just functional but also visually appealing and delicious! Additionally, remember to keep in mind the importance of proper soil and drainage techniques when setting up your mason jars for optimal growth.
Selecting the Perfect Mason Jars
Mason jars are more than just charming containers; they’re the perfect vessels for your mini garden.
When selecting jars, keep these factors in mind:
- Size: Choose jars that fit your space and allow roots to grow.
- Material: Opt for glass jars for better durability and aesthetics.
- Opening: Select jars with wide openings for easy planting and watering.
- Lid Type: Consider whether you want jars with lids for humidity control or open tops for airflow.
Additionally, using recycled jars can enhance your garden’s sustainability while providing an eco-friendly option for your indoor herbs.
Preparing the Soil for Planting
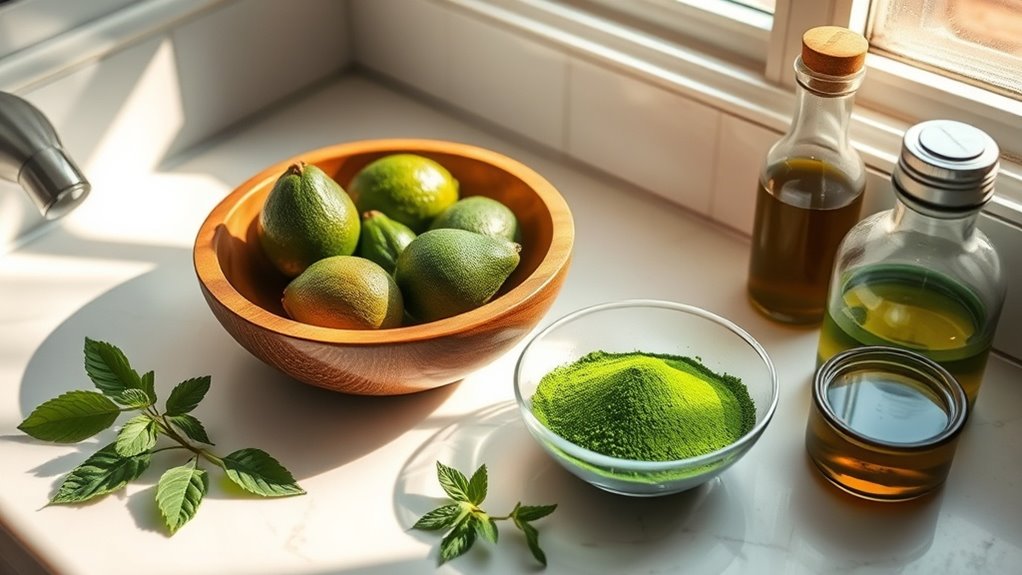
After selecting the perfect mason jars for your mini garden, it’s time to focus on preparing the soil for planting.
Start by choosing a high-quality potting mix designed for containers. This blend usually contains peat moss, perlite, and compost, providing essential nutrients and aeration.
Measure the amount needed for your jars, ensuring they’re filled about three-quarters full.
Next, mix in a slow-release fertilizer to give your plants a nutrient boost. Incorporating essential nutrients is crucial to the success of your herb garden, as they will promote healthy growth and vibrant flavors.
If you’re considering herbs or small vegetables, be sure to adjust the pH if necessary for optimal growth.
Now you’re ready to plant your seeds or seedlings!
Ensuring Proper Drainage
To keep your mini garden thriving, you need to ensure proper drainage.
Start by drilling small holes in the bottom of your mason jars to allow excess water to escape.
Adding a layer of gravel at the base will further enhance drainage and prevent your plants from sitting in soggy soil. Additionally, growing herbs indoors can maximize your space and provide fresh ingredients for your meals.
Drill Holes in Bottom
Drill holes in the bottom of your mason jars to ensure proper drainage for your mini garden.
Without these holes, excess water can accumulate, leading to root rot and unhealthy plants.
Here’s how to do it safely and effectively:
- Choose the Right Drill Bit: Use a small drill bit, around 1/8 inch, to create adequate drainage without compromising the jar’s structure.
- Secure the Jar: Place the jar on a stable surface, or clamp it down to prevent slipping.
- Drill Carefully: Apply gentle pressure while drilling to avoid cracking.
- Clean Up: Remove any plastic shavings for a tidy workspace.
Use Gravel Layer
Once you’ve drilled the necessary holes in the bottom of your mason jars, the next step is to add a layer of gravel.
This gravel layer acts as a drainage system, preventing excess water from sitting at the bottom and causing root rot.
Pour about an inch of small gravel into each jar, ensuring it’s evenly distributed.
This layer will allow water to flow freely, giving your plants the moisture they need without drowning them.
Remember, proper drainage is crucial for healthy growth, so don’t skip this step.
Your mini garden will thrive with this simple addition!
Planting Your Herbs in Mason Jars
Transform your kitchen windowsill into a vibrant herb garden by planting your favorite herbs in mason jars.
Follow these steps to ensure a successful planting experience:
- Choose the right herbs: Select herbs like basil, parsley, or mint that thrive in small spaces.
- Fill with potting mix: Add organic potting soil until it’s about an inch from the top.
- Plant seeds or seedlings: Gently press seeds or seedlings into the soil, following depth instructions on the seed packet.
- Water carefully: Moisten the soil, ensuring it’s damp but not soggy to promote healthy growth.
For indoor herb gardening at its best, provide adequate sunlight and monitor humidity levels to create an ideal growing environment for your herbs.
Enjoy your fresh herbs!
Caring for Your Mini Garden
To keep your mini garden thriving, you’ll need a solid care routine.
This includes establishing a consistent watering schedule, ensuring your plants get the right amount of light, and implementing effective pest control measures. Additionally, the healing power of nature can enhance your gardening experience, providing a sense of tranquility and connection to the environment.
Watering Schedule Maintenance
How often should you water your mini garden in mason jars?
Generally, you’ll want to check the moisture levels once a week.
However, factors like plant type and jar size can influence your schedule.
Here are four tips to keep in mind:
- Check the soil: Stick your finger about an inch deep; if it’s dry, it’s time to water.
- Use a spray bottle: This helps control the amount of water, preventing over-saturation.
- Observe your plants: Yellowing leaves may indicate overwatering, while wilting suggests dryness.
- Adjust with seasons: Plants may need more water in warmer months.
Light Requirements Management
After establishing a solid watering routine, it’s time to focus on another key aspect of your mini garden: light requirements.
Most plants thrive with 6-8 hours of bright, indirect sunlight daily.
Position your mason jars near a window, but avoid direct sun to prevent overheating.
If natural light is limited, consider using grow lights to mimic sunlight, keeping them about 6-12 inches above your plants.
Rotate your jars weekly to ensure even light distribution, promoting balanced growth.
Observing your plants will help you adjust their light exposure as needed; yellowing leaves often indicate they need more light.
Happy gardening!
Pest Control Tips
What do you do when unwelcome pests start invading your mini garden?
Don’t panic!
You can take several effective measures to protect your plants.
Here are some pest control tips:
- Inspect Regularly: Check for signs of pests and damage. Early detection is key.
- Natural Repellents: Use neem oil or insecticidal soap to deter pests without harmful chemicals.
- Introduce Beneficial Insects: Ladybugs and lacewings can help control pest populations naturally.
- Keep It Clean: Remove dead leaves and debris to minimize pest habitats.
Stay vigilant, and your mini garden will thrive, pest-free!
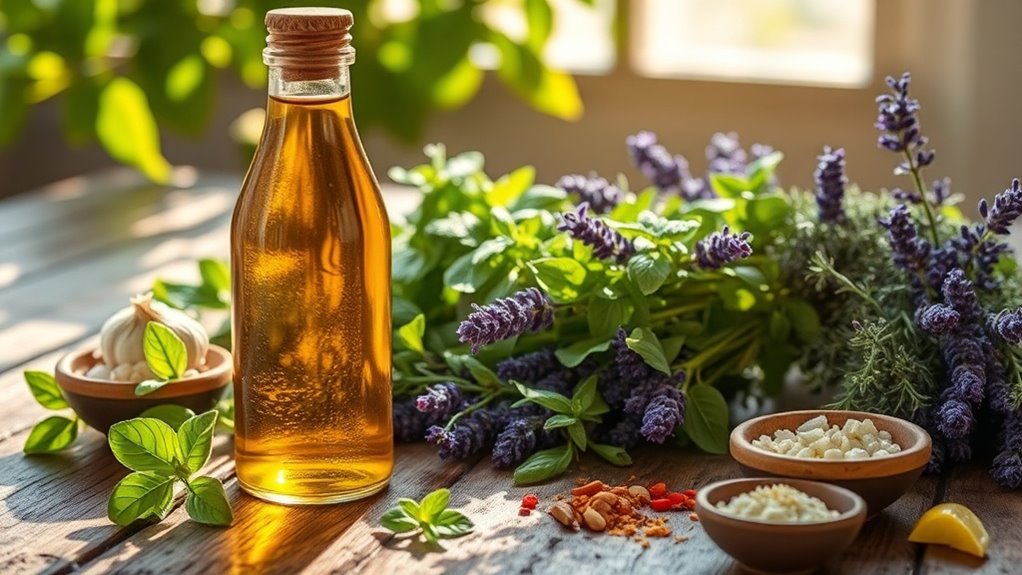
Harvesting and Enjoying Your Herbs
Once your herbs have flourished in their cozy mason jar homes, it’s time to savor the fruits of your labor. Begin by snipping the leaves you need, taking care to cut just above a leaf node to encourage regrowth.
Fresh herbs taste best when used immediately, but you can also dry or freeze excess for later use. Adding essential herbs from your garden can elevate the flavors of your dishes and provide additional health benefits as well. Experiment with your culinary creations—add basil to pasta, sprinkle cilantro on tacos, or infuse mint into drinks.
Don’t forget to share your bounty with friends or family; nothing beats the joy of fresh, home-grown herbs enjoyed together!