How I Started My Indoor Herb Garden Using Recycled Jars
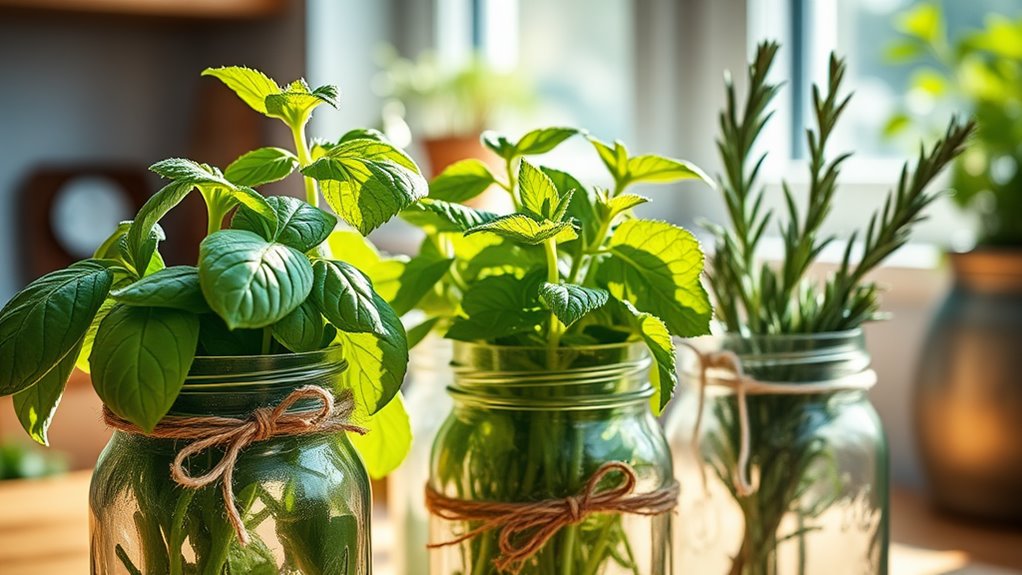
To start your indoor herb garden with recycled jars, choose easy-to-grow herbs like basil, mint, and chives that suit your cooking style. Gather clean glass jars, ensuring they have drainage holes. Fill the jars with well-draining potting soil and plant your seedlings, watering them appropriately. Place your jars in bright, indirect sunlight and maintain them by pruning and harvesting regularly. You’ll soon enjoy fresh herbs in your meals, and there’s more to discover for a flourishing garden!
Choosing the Right Herbs for Your Indoor Garden
When you’re selecting herbs for your indoor garden, which ones will thrive best in your space?
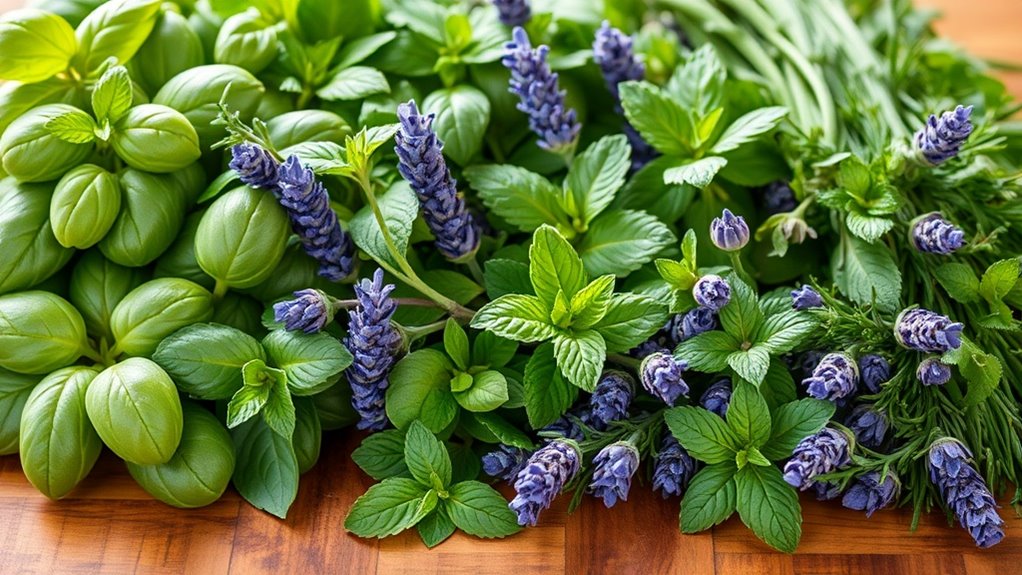
Start with easy-to-grow options like basil, mint, and chives.
These herbs not only flourish in a recycled jar garden but also add flavor to your meals.
Consider the light in your home; herbs like parsley and cilantro need bright, indirect sunlight.
Make sure to choose herbs that suit your cooking style and preferences, as you’ll be more likely to use them.
Lastly, don’t overcrowd your jars—each plant needs room to grow.
Additionally, using recycled jars for planting not only minimizes waste but also adds a charming aesthetic to your indoor space.
Happy gardening!
Gathering Recycled Jars and Materials
Now that you’ve picked the perfect herbs for your indoor garden, it’s time to gather the jars and materials you’ll need.
Look for glass jars, like mason or pickle jars, as they’re ideal for drainage and visibility.
Don’t forget lids—these can be repurposed for trays or covers.
You’ll also want potting soil, small stones for drainage, and labels to mark your herbs.
Check your recycling bin or local thrift store for unique finds.
Gathering these materials not only saves money but also gives your garden a charming, eco-friendly touch. To ensure your herbs thrive, make sure to provide proper soil and drainage techniques, which are essential for healthy growth.
You’re one step closer to growing your indoor herb paradise!
Preparing the Jars for Planting
Before you start planting, it’s essential to prepare your jars properly.
Choose jars that are the right size and shape for your herbs, then clean and sanitize them to ensure a healthy growing environment.
Finally, don’t forget to add drainage holes to prevent water from pooling at the bottom, which can harm your plants.
Additionally, using recycled jars not only helps the environment but also adds a unique aesthetic to your gardening setup.
Choosing the Right Jars
Choosing the right jars for your indoor herb garden can make all the difference in your plants’ success. Look for containers that provide adequate drainage and space for roots. Here’s a simple guide to help you decide:
| Jar Type | Best For |
|---|---|
| Glass Jars | Basil, Chives |
| Plastic Containers | Cilantro, Parsley |
| Ceramic Pots | Oregano, Thyme |
Ensure you choose jars that match your aesthetic but also support healthy growth. With the right jars, your herbs will thrive, bringing life and flavor to your kitchen!
Cleaning and Sanitizing Steps
Once you’ve selected the perfect jars for your indoor herb garden, it’s time to prepare them for planting.
Start by rinsing each jar with warm water to remove any dust or residues.
Next, create a sanitizing solution using one part vinegar and three parts water.
Soak a cloth in this mixture, then wipe down the inside and outside of each jar thoroughly.
Rinse again with clean water to ensure no vinegar smell lingers.
Allow the jars to air dry completely before planting.
This simple cleaning process ensures a healthy environment for your herbs to thrive in their new home.
Adding Drainage Holes
To ensure your herbs thrive, adding drainage holes to your jars is essential. Without proper drainage, excess water can lead to root rot, jeopardizing your plants.
Grab a hammer and a small nail or a drill with a bit, and gently create a few holes at the bottom of each jar. Make sure they’re evenly spaced for optimal drainage. If you’re using glass jars, be cautious to avoid breaking them.
Once you’ve added the holes, rinse the jars again to remove any glass shards.
Now your jars are ready for soil and herbs, promoting a healthy and vibrant indoor garden!
Soil Selection and Planting Techniques
Selecting the right soil is crucial for the success of your indoor herb garden. Choose a high-quality potting mix that’s well-draining to prevent root rot. You can also mix in perlite or vermiculite to enhance aeration. Additionally, using organic potting soil can provide your herbs with essential nutrients for healthy growth.
When planting, fill your recycled jars about two-thirds full with soil, leaving room for your herbs’ roots. Gently remove your seedlings from their containers, taking care not to damage the roots, and place them in the jar. Cover the roots with soil, pressing lightly to eliminate air pockets.
Finally, give your newly planted herbs a gentle watering to help them settle in.
Watering and Light Requirements
Watering and light are two key factors that can make or break your indoor herb garden. To keep your herbs thriving, ensure they get about 6-8 hours of indirect sunlight daily. For watering, check the soil moisture; it should be slightly dry before you water again. One useful tip is to incorporate container gardening as it helps maximize the use of indoor space and maintain optimal plant health.
| Herb | Watering Frequency | Light Requirement |
|---|---|---|
| Basil | Every 3-4 days | Indirect sunlight |
| Mint | Every 5-7 days | Indirect sunlight |
| Thyme | Every 7-10 days | Bright, indirect light |
| Rosemary | Every 7-10 days | Direct sunlight |
Maintaining Your Indoor Herb Garden
To keep your indoor herb garden thriving, you’ll want to establish a consistent watering schedule and know when to prune and harvest your herbs.
Regular maintenance not only encourages healthy growth but also enhances flavor and aroma. Additionally, incorporating essential herbs for your pantry can significantly boost the culinary potential of your indoor garden.
Let’s explore some practical tips to help you keep your herbs vibrant and productive.
Watering Schedule Tips
How often should you water your indoor herb garden? Generally, you should check your herbs every few days. Stick your finger about an inch into the soil; if it feels dry, it’s time to water.
Most herbs prefer slightly moist soil, so avoid overwatering. A good rule of thumb is to provide water once a week, adjusting this based on your home’s humidity and temperature.
If you notice yellowing leaves, you might be watering too much. Consider using a spray bottle for lighter herbs like basil, while heartier herbs can handle a bit more moisture.
Happy gardening!
Pruning and Harvesting Techniques
After ensuring your herbs are well-watered, it’s time to focus on pruning and harvesting to keep your indoor garden thriving.
Start by snipping off any yellow or wilted leaves; this encourages new growth. For herbs like basil and mint, pinch back the tips regularly to promote bushiness.
When harvesting, take only what you need, cutting stems just above a leaf node. This method helps the plant regenerate and prevents over-harvesting.
Remember to use clean, sharp scissors to avoid damaging your herbs. Regular pruning and careful harvesting not only enhance your plants’ health but also ensure a bountiful supply of fresh herbs.
Harvesting and Using Fresh Herbs
When’s the best time to harvest your fresh herbs?
Ideally, you should pick them in the morning after the dew has dried but before the sun gets too hot.
This ensures maximum flavor and potency.
Snip off the top leaves and stems, leaving enough for the plant to continue growing.
You can use your fresh herbs in countless dishes—add basil to pasta, sprinkle cilantro on tacos, or mix thyme into roasted vegetables.
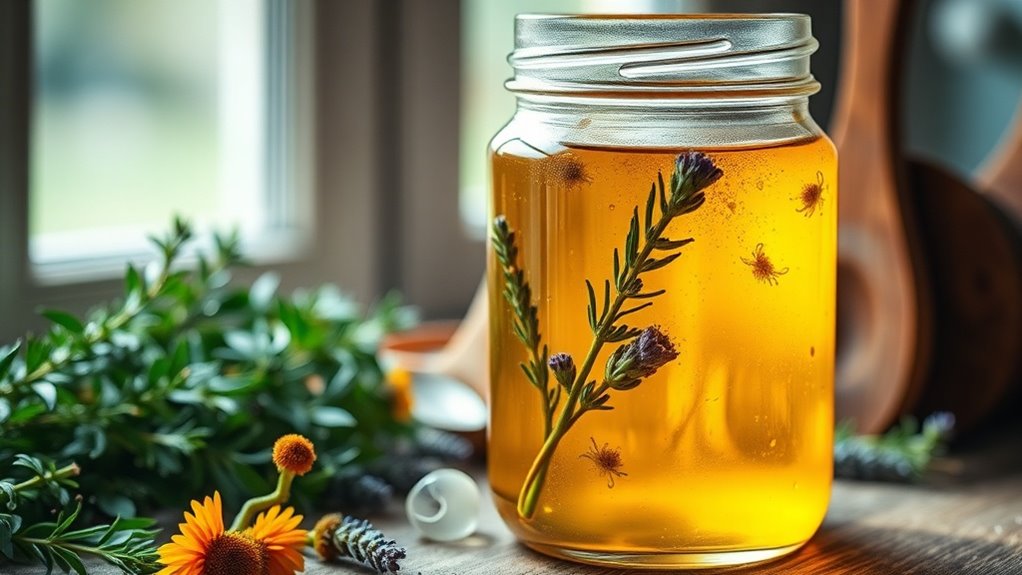
Store any extras in a jar of water in the fridge or dry them for later use. Essential herbs like basil and cilantro can enhance the flavors of your meals significantly.
Enjoy the vibrant flavors your indoor herb garden provides!
Tips for Expanding Your Herb Garden
If you’re looking to expand your indoor herb garden, consider starting with a few easy-to-grow varieties that complement your current selection. Basil, chives, and oregano are great choices that thrive in similar conditions.
Make sure you’re using proper-sized jars with good drainage for your new plants. Group herbs with similar light and water needs together to simplify care. Don’t forget to rotate your jars occasionally for even sunlight exposure.
You can also try propagating herbs like mint from cuttings, giving you more plants without spending extra. Additionally, incorporating essential ingredients from your natural pantry can greatly enhance the flavor and nutrition of your dishes. With a little effort, your herb garden will flourish beautifully!