How I Infuse Oils Without Any Fancy Equipment
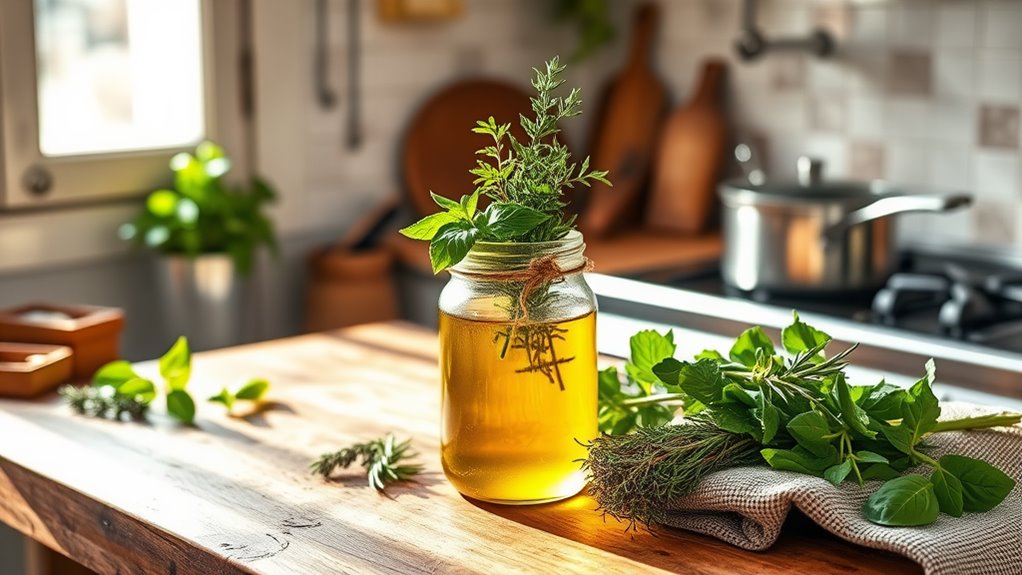
Infusing oils is easy and doesn’t require fancy equipment. Start by choosing a high-quality oil like olive or grapeseed. Select your favorite herbs, spices, or garlic for flavor. Chop or bruise these ingredients to release their oils and combine them in a clean glass jar. For cold infusion, cover with oil and let it sit for 1-4 weeks in a dark place. For warm infusion, gently heat the mix for 30-60 minutes. Stick around to discover more tips and techniques!
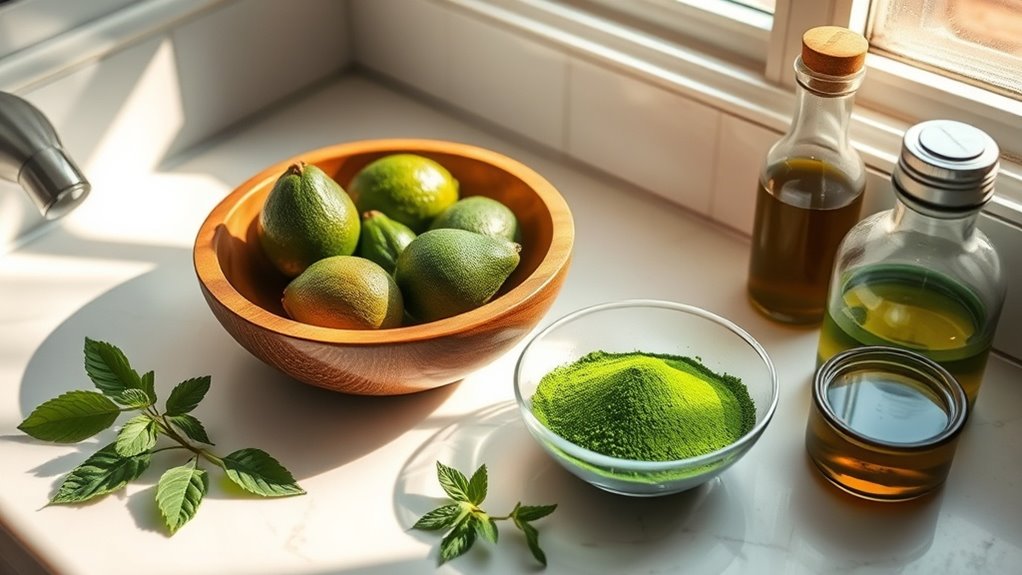
Choosing the Right Oils for Infusion
When you’re choosing oils for infusion, it’s essential to consider both flavor and health benefits.
Opt for high-quality base oils like olive, grapeseed, or avocado, as they provide a neutral canvas for your creations.
These oils not only enhance the taste of your dishes but also boast nutrients.
For simple infused oils, think about how the oil’s flavor will complement your final dish.
Light oils work well for delicate flavors, while robust oils can stand up to bold ingredients.
With the right choices, you’ll create infused oils that elevate your cooking and provide added health benefits. Additionally, infused oils can showcase the flavor of herbs and spices, adding a unique twist to your culinary masterpieces.
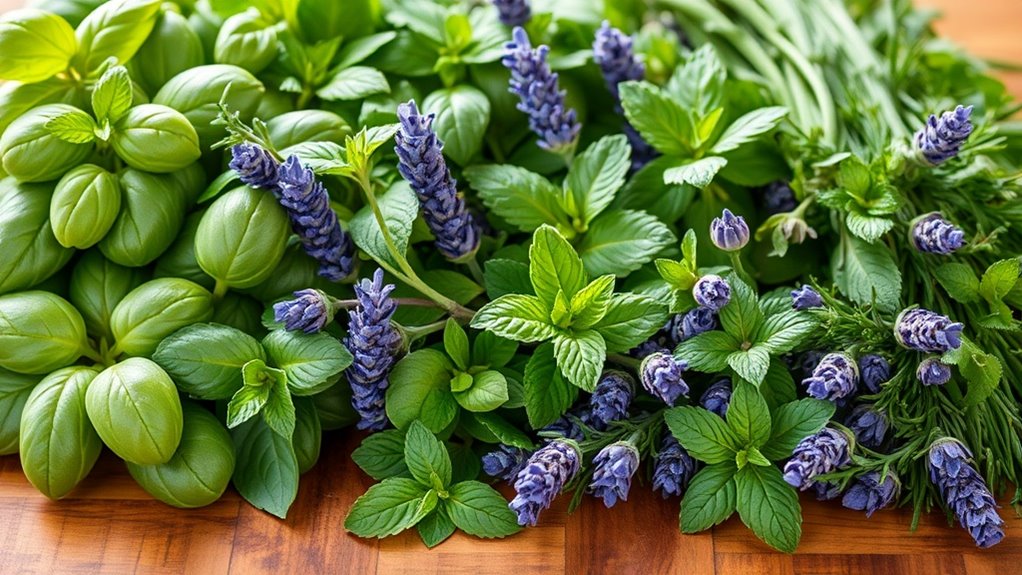
Selecting Flavorful Herbs and Ingredients
When selecting herbs and ingredients for your oil infusion, consider the impact of fresh versus dried options. Fresh herbs often deliver brighter flavors, while dried ones can provide a more concentrated taste. Seasonal ingredients also add unique characteristics, so think about what pairs well together to create a harmonious blend. Additionally, infused oils can be personalized by experimenting with various combinations of herbs and spices.
Fresh vs. Dried Herbs
Which type of herbs should you choose for your oil infusion: fresh or dried? Fresh herbs deliver bright, vibrant flavors, while dried herbs offer concentrated, robust profiles. Your choice depends on the desired intensity and availability.
| Herb Type | Flavor Profile | Best Use |
|---|---|---|
| Fresh | Bright, light | Salad dressings, dips |
| Dried | Concentrated, robust | Cooking, long infusions |
| Fresh | Aromatic, fragrant | Finishing oils |
| Dried | Earthy, deep | Marinades, sauces |
| Fresh | Delicate, subtle | Infused oils for drizzling |
Choose wisely for the best infusion!
Seasonal Ingredient Choices
Choosing the right herbs and ingredients for your oil infusion can significantly enhance the flavor profile, and seasonal selections can elevate your creations even further.
In spring, opt for vibrant herbs like basil and chives, which bring freshness.
Summer’s bounty offers rosemary and thyme, infusing warmth and earthiness.
As autumn arrives, embrace sage and oregano for a cozy touch.
Winter’s chill calls for hearty ingredients like garlic and dried chili flakes, adding warmth.
By selecting seasonal ingredients, you not only support local producers but also ensure your infused oils burst with the best flavors nature has to offer.
Happy infusing!
Flavor Pairing Tips
How do you decide which herbs and ingredients will elevate your oil infusion?
Start by considering flavors that complement each other.
Here are some tips to guide your selection:
-
Balance: Pair bold flavors like garlic with milder herbs such as basil.
-
Seasonality: Use fresh, seasonal herbs for the best taste—think rosemary in winter or cilantro in summer.
-
Contrast: Combine sweet elements like dried fruit with spicy peppers for a unique twist.
-
Purpose: Consider how you’ll use the oil—infuse for cooking, drizzling, or dipping, and choose ingredients that enhance those uses.
Happy infusing!
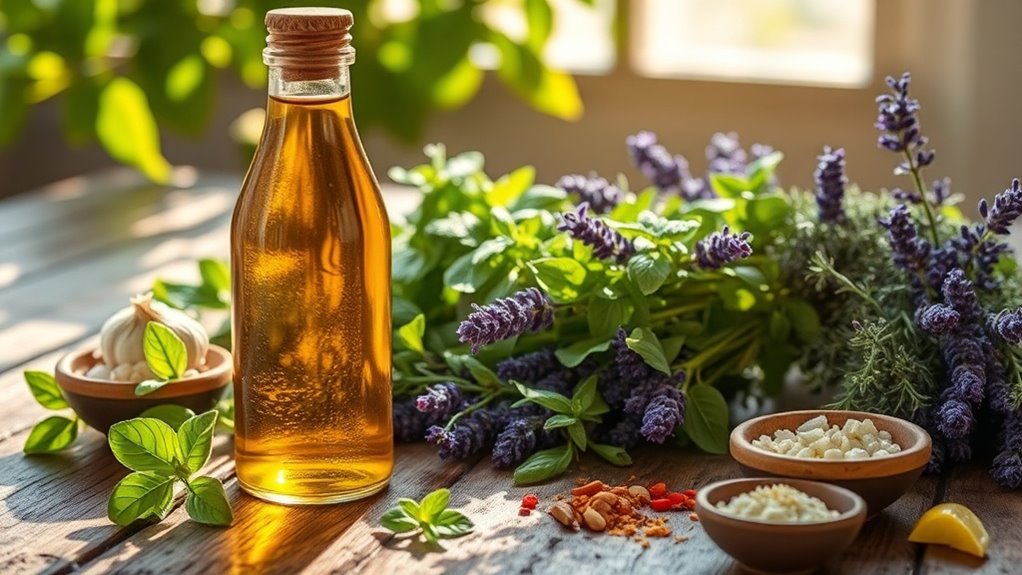
Preparing Your Ingredients for Infusion
Preparing your ingredients for infusion is a crucial step that sets the foundation for flavorful oils.
Start by selecting fresh herbs, spices, or aromatics, as their vibrant flavors will greatly enhance your oil.
Rinse and pat them dry to remove any moisture.
Chop or bruise the ingredients slightly to release their essential oils, maximizing flavor.
If you’re using dried herbs, crush them gently to activate their aromas.
Make sure your oil is of high quality; a good base oil will carry the flavors beautifully.
Finally, measure your ingredients carefully to create a balanced infusion that suits your palate. Additionally, consider experimenting with quick infused oils to broaden your culinary repertoire.
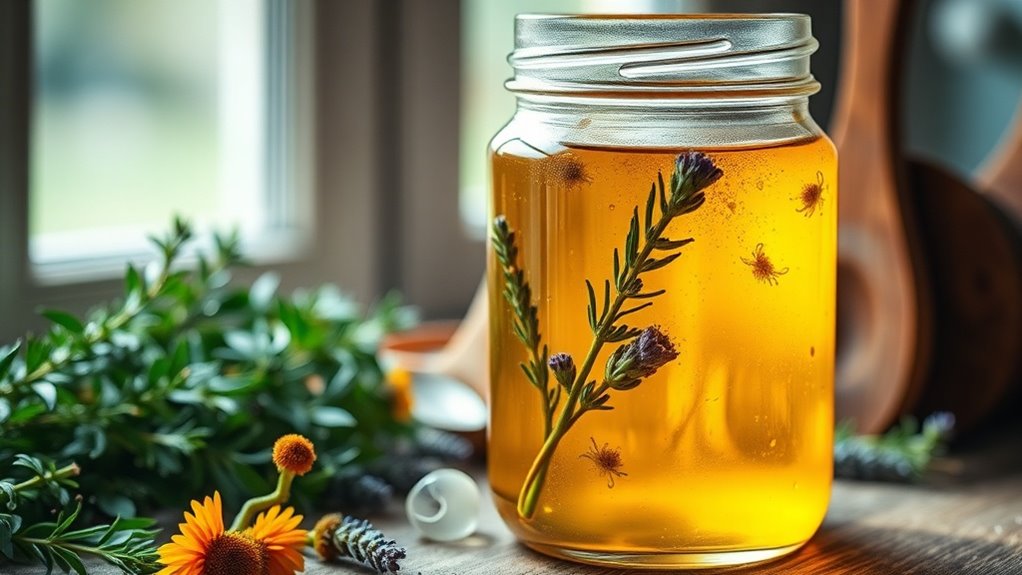
The Cold Infusion Method
The cold infusion method is a simple and effective way to extract the vibrant flavors of your chosen ingredients without applying heat.
This technique allows the natural essence to seep into the oil over time, creating a rich, aromatic blend. Infusing your oil not only enhances its flavor but also brings out the benefits of various herbs that can contribute to your overall wellness.
Here’s how to do it:
- Choose your oil base—olive, grapeseed, or avocado work well.
- Select and prepare your ingredients, like herbs or spices.
- Combine them in a clean jar, filling it with oil.
- Seal and store in a cool, dark place for 1-4 weeks, shaking occasionally to enhance the infusion.
Enjoy the unique flavors in your cooking!
The Warm Infusion Method
Ever wondered how to create infused oils quickly while still capturing rich flavors? The warm infusion method is your answer.
Start by gently heating your chosen oil in a saucepan over low heat. Add your herbs or spices, ensuring they’re fully submerged.
Keep the heat low—around 100 to 140°F—to preserve the oil’s quality. Stir occasionally, letting the ingredients mingle for about 30 to 60 minutes.
You’ll notice the vibrant aromas developing as the flavors infuse. This method allows you to enjoy skin-soothing properties from natural ingredients more effectively.
Once you’re satisfied, remove the pan from heat and let it cool before straining. You’ll have a deliciously infused oil ready for your culinary creations!
Straining Your Infused Oils
Once your oils are infused, it’s time to strain them to remove any solid bits.
You can choose from a variety of methods, like using a fine mesh strainer or cheesecloth, depending on what you have on hand. Infused oils can be used for various applications, including household cleaning to harness their natural benefits.
Properly storing your infused oils afterward is crucial to maintaining their flavor and extending their shelf life.
Choosing Your Straining Method
How do you decide the best method for straining your infused oils?
Choosing the right technique depends on your needs and resources.
Here are some options to consider:
- Fine Mesh Strainer: Quick and easy, perfect for most herbs and spices.
- Cheesecloth: Gives you a clearer oil, but requires more effort to squeeze out the liquid.
- Coffee Filter: Ideal for a super smooth finish, though it takes longer due to slower filtration.
- Nut Milk Bag: Great for larger batches, allowing easy squeezing and minimal mess.
Evaluate each method based on convenience and desired oil clarity to find what works best for you!
Storing Infused Oils Properly
While you might be eager to use your freshly infused oils, proper storage is crucial to maintain their flavor and potency. After straining, pour your oils into clean, dark glass bottles to protect them from light. Keep them in a cool, dark place, like a pantry or cabinet, to prolong their shelf life.
| Storage Tip | Details |
|---|---|
| Use Dark Glass | Protects from UV light |
| Seal Tightly | Prevents oxidation |
| Store Cool | Reduces spoilage |
| Label Containers | Helps track infusion date |
Following these tips ensures your infused oils stay delightful!
Storing Your Infused Oils Properly
Storing your infused oils properly is essential for preserving their flavor and potency.
Follow these simple tips to keep your oils at their best:
- Use dark glass bottles: They protect your oils from light, which can degrade quality.
- Keep them cool: Store oils in a cool, dark place away from heat sources.
- Seal tightly: Ensure lids are secure to prevent oxidation and contamination.
- Label clearly: Include the infusion date and ingredients to track freshness.
To enhance the aroma of your home, consider adding a few drops of essential oils to your oils for natural cleaning scent.
With these practices, your infused oils will maintain their vibrant flavors and beneficial properties for longer.
Enjoy your culinary creations!
Creative Uses for Infused Oils
Wondering how you can elevate your culinary creations with infused oils?
You can drizzle garlic-infused oil over roasted vegetables for an aromatic kick, or use herb-infused oil as a flavorful base for salad dressings.
Try adding chili-infused oil to pasta dishes for a spicy touch, or brush it on grilled meats for an extra layer of flavor.
Infused oils also make excellent dipping oils for fresh bread, paired with balsamic vinegar.
For a unique twist, incorporate citrus-infused oil into baked goods, enhancing both moisture and flavor.
Incorporating essential herbs in your infused oils can enhance their flavor and provide added health benefits.
Get creative, and let your infused oils transform everyday meals into gourmet experiences!